Clutch Cable replacement help on a 76 R75/6
New to the forum and need clutch cable installation info.
Postby gr8shotz00 » Sun Jun 19, 2016 10:51 am
I have been lurking around for about a year now. It's now time to start being an active player.
I live in Utah and have acquired a 1976 BMW R75/6. Mostly all original. Runs fairly well and I try to take it out and ride almost every day.
I cleaned the carbs out today, and decided to take a test run. Got 1/2 mile from the house and the clutch cable broke.
I have been looking around to see if anyone has posted pictures or videos of clutch cable replacement. I am not finding any. So are there some? Can some one point me to useful information on this. I would appreciate it.
Thanks in advance. Looking forward to large amounts of time spent on this site. Learning new things is exciting!
First of all, there are several different length clutch cables available. Unless you're using the stock bars, the stock cable may not allow the best fit. If a different length is required, you might want to talk to a live person rather than order a number over the internet. Bob's BMW is tops with the phone requests in my book.
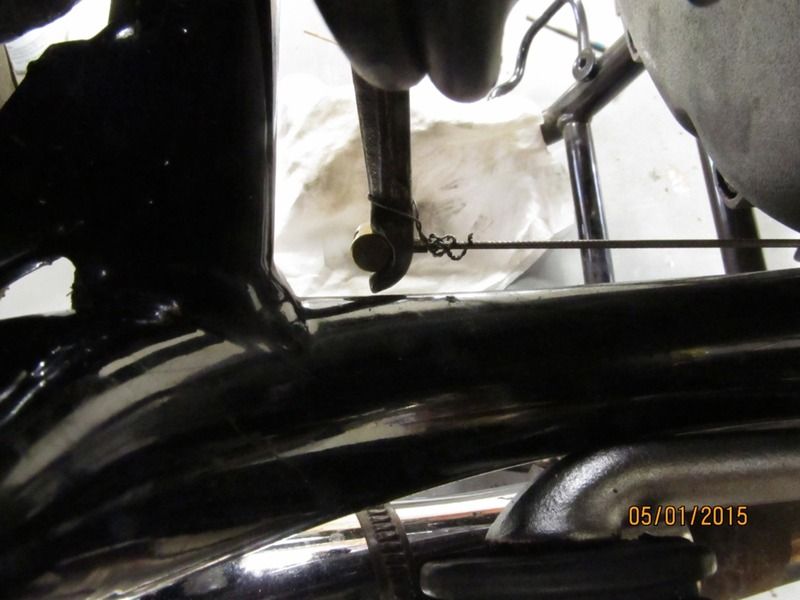
Replacing the cable is easy and straightforward. I find it much easier to take the lower end off first. To do this requires forcing the clutch throw arm forward to gain enough slack to slip the cable end off. To do this, I use a common wooden hammer handle inserted between the frame and lever. With the base of the handle resting on the clutch arm, pulling rearward on the hammer head moves the arm to the disengage position. The wood won't scratch the frame, and 12" allows good leverage to make the work easy. Then take off the handlebar end of the cable last.
Re-installation starts with lubing the new cable right out of the box (if required). Then insert a dollop of waterproof grease (e.g. white lithium) up inside the lever for the cable end barrel. I also lube the clutch pivot bolt with motorcycle chain lube. Route the new cable onto the bike. Fit the lever-end adjuster, and insert the lever-end into the lever. Install the lower-end boot and fit the housing into the gearbox case socket. Get out the hammer one more time, and Bing! she's on.
Then follow the instructions on proper free-play in the clutch arm and cable.
PS. If your cable broke at the lever, then it was caused by flexing the hardened steel cable. What's supposed to happen is the barrel is supposed to rotate inside the lever. The addition of waterproof lube inside the barrel socket, along with the correct cable free play, will restore this rotation and keep the new cable from breaking.
🙂
Owning an old Airhead is easy.
Keeping an old Airhead running great is the true test.
Thanks for the information
just cause, I can :
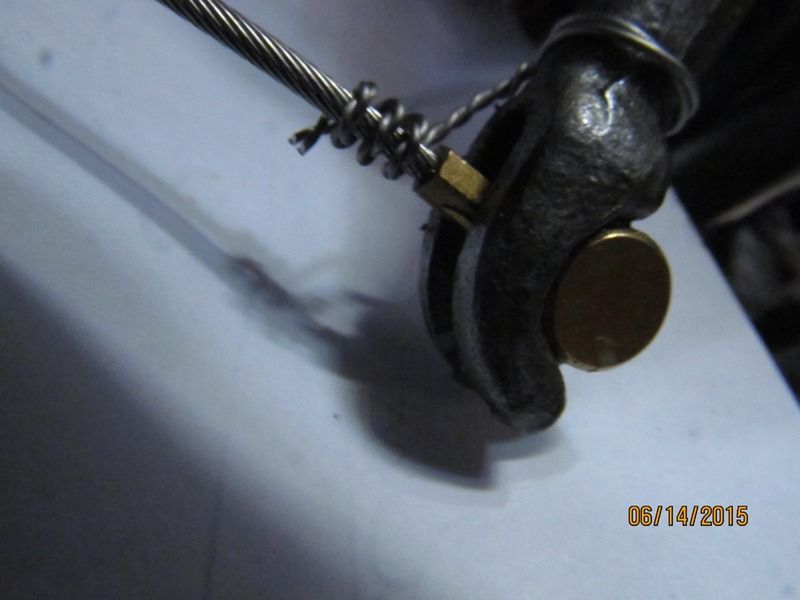
I safety wired the lower cable LOOSLY to the arm ..


Thanks for all the input. I got a chance to put the new one on using your input and it went on nice and easy and works great.
- 27 Forums
- 1,890 Topics
- 10.8 K Posts
- 6 Online
- 5,919 Members


